
I've seen subway art a lot lately, and certainly wouldn't claim this as an original idea . . . just another tutorial!
They have these pieces of wood at Michael's in all different shapes and sizes. Be creative!
First off {I didn't take pictures . . . sorry!} paint your piece of wood in the color you ultimately want your letters/shapes to be. Let dry COMPLETELY so that when you stick on your letters it wont pull off the paint. I would be safe and allow to dry over night {or all day if you paint it in the morning!}
There are different ways you can apply the wording. My cute niece let me design what I wanted on her computer and she printed it all out on vinyl on her Cricut. I've seen other ways using the sticky backed contact paper. You can just print your design {which, by the way can be designed on a bunch of different computer programs like Photoshop or even Microsoft Word}. You can't print right on the contact paper but you can print it out on regular paper the size you want, spray the back with spray adhesive and stick it onto the non-sticky side of the contact paper. You'll just need to use a razor blade and carefully cut out each letter.

After sticking all of your words/shapes onto your painted sign, {and making sure every letter is pressed down completely} paint over the entire board with the "background" color. I used kind of cheap paint, so it took a few coats to get completely black.

This is the part that took a lot of patience for me! I wanted to see how it turned out . . . but WAIT!! If you don't wait until it's completely dry it will peel off funny and mess it up. Just. Wait!

When you're completely confident that the paint is all the way DRY!! carefully peel off all of the letters.

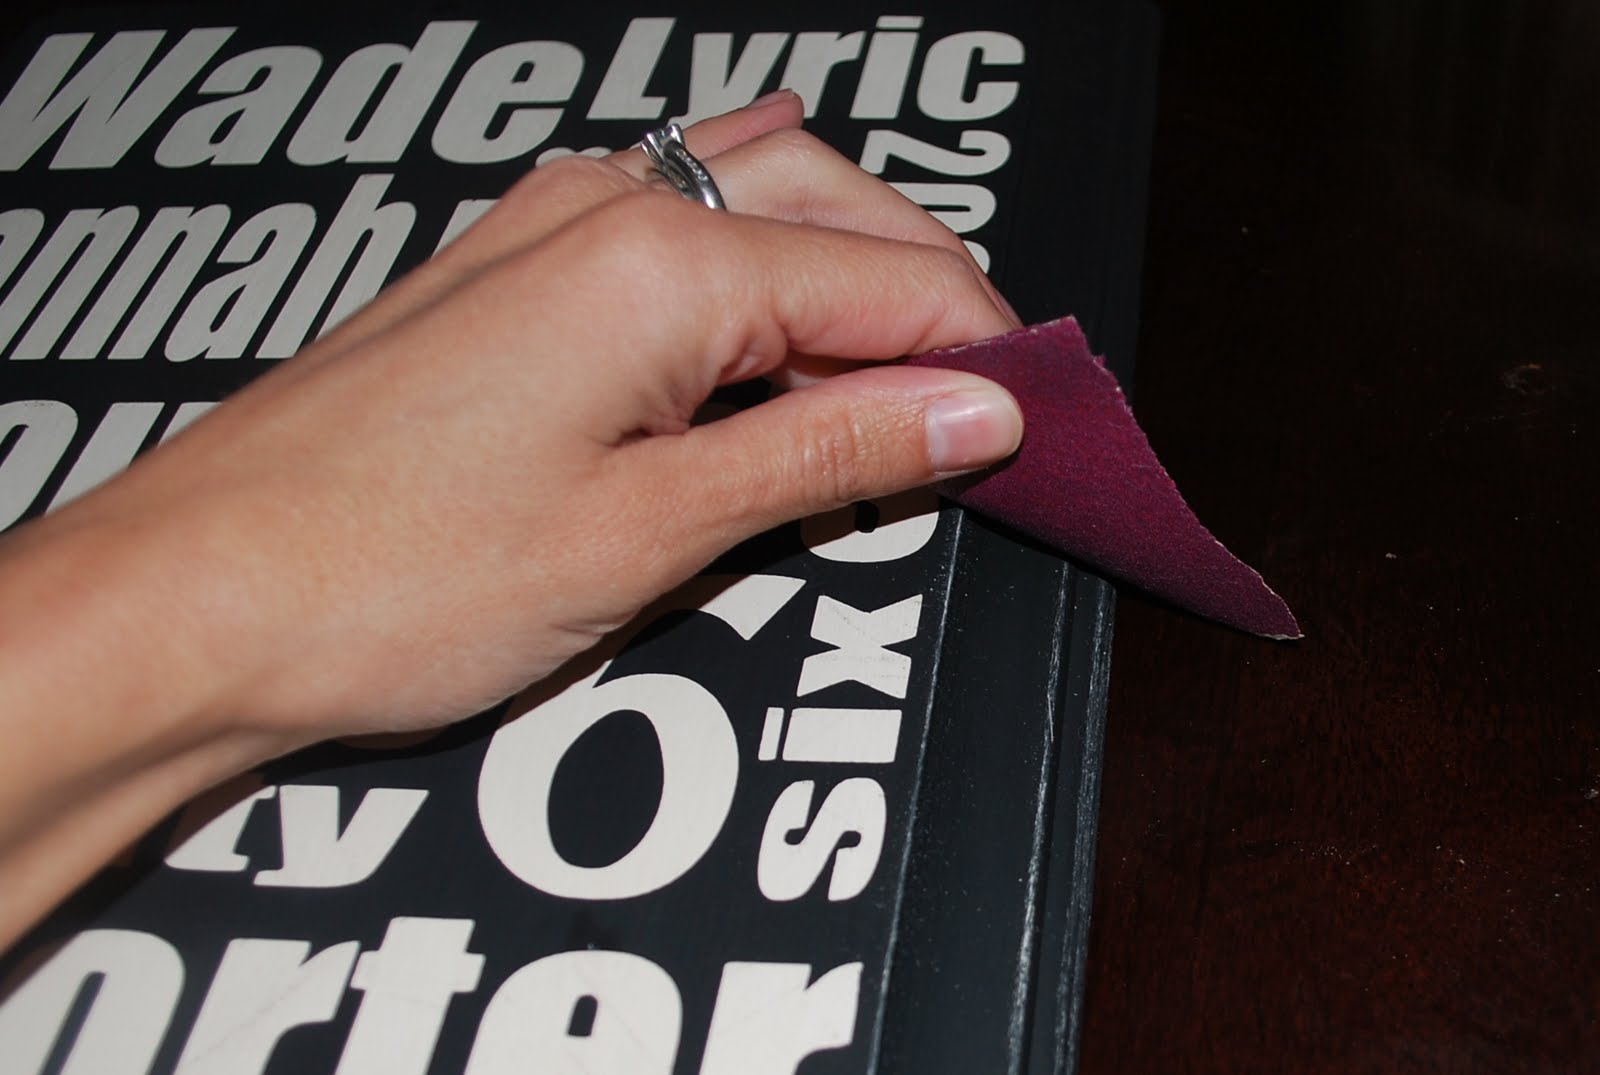
You can stop here or you can take it a step further by sanding down the edges to make it look a little more worn/old.

I like to do my projects as cheap as possible, so a lot of times I'll just use some of what I already have to save a buck. {That's right, I'm cheap!} I save everything that looks useful {and no I'm not a hoarder}. A baby blanket I got was wrapped in this white ribbon, and look! I was able to use it! Go me! Only thing is, I wish it were more of a cream color . . . someday I'll go buy one . . . maybe.
I used just a regular stapler to attach the ribbon to the back. I just used one piece of ribbon and looped it for a hanger. Make sure if you do it this way, to leave quite a bit of ribbon on the back and staple 6 or 7 times {or more if you think it's not sturdy enough}.

If you want to make a bow at the top just tie it right onto the loop.

And just hang it on a nail. The great thing about just tying a bow right onto the ribbon is if it looks crooked on the wall it's easily centered.

L.O.V.E. this project idea! Thanks for sharing Lyric!
ReplyDeletelove. love. love.
ReplyDeleteThis is a fantastic idea! I would have never thought to approach it this way. I love it! I'm bookmarking this page for a future feature on my blog! Thank you for sharing your craftiness with us!
ReplyDelete~Sarah
www.diyordont.blogspot.com
I'm so glad you're back on your crafty blog, chica! I've used a similar technique on t-shirts with fabric spray paint. We used parchment paper to cut out the design and ironed it on the shirt. Wax paper would have worked for fabric, too, but it would leave wax on the shirt. Pretty sure vinyl would work on fabric, too. I think I need to invest in a cricut.
ReplyDeleteThat was the greatest explaination/tutorial ever! Looks amazing! I think I might have to give it a try. Wish me luck...hope mine turns out as nice as yours :)
ReplyDeleteXO,
Candace
Fabulous. So graphic and cool. Also loved the way you used the ribbon to hang it. Thank you!
ReplyDeleteIf your ribbon is too white, try using tea to darken it ever so slightly...
ReplyDeletethis is all so awesome! never thought of those things!
ReplyDeletehttp://zarahzoebeauty.blogspot.com